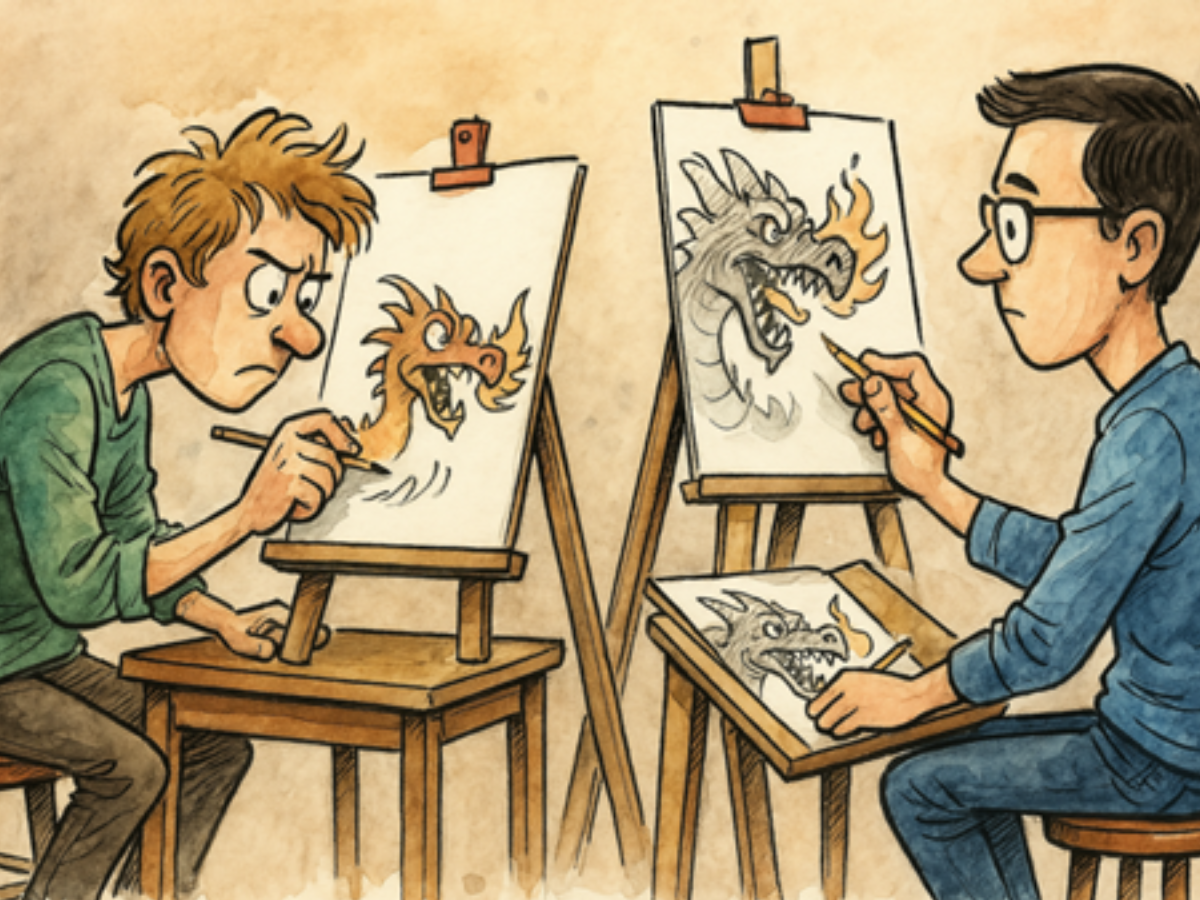
Designers don’t just create.
They breathe life into blank spaces.
They translate silence into visuals, emotions into forms, and chaos into harmony.But even the most gifted creatives need a starting point — a safe place to gather their thoughts, a sacred scroll of intention.
That starting point? Is a moodboard.
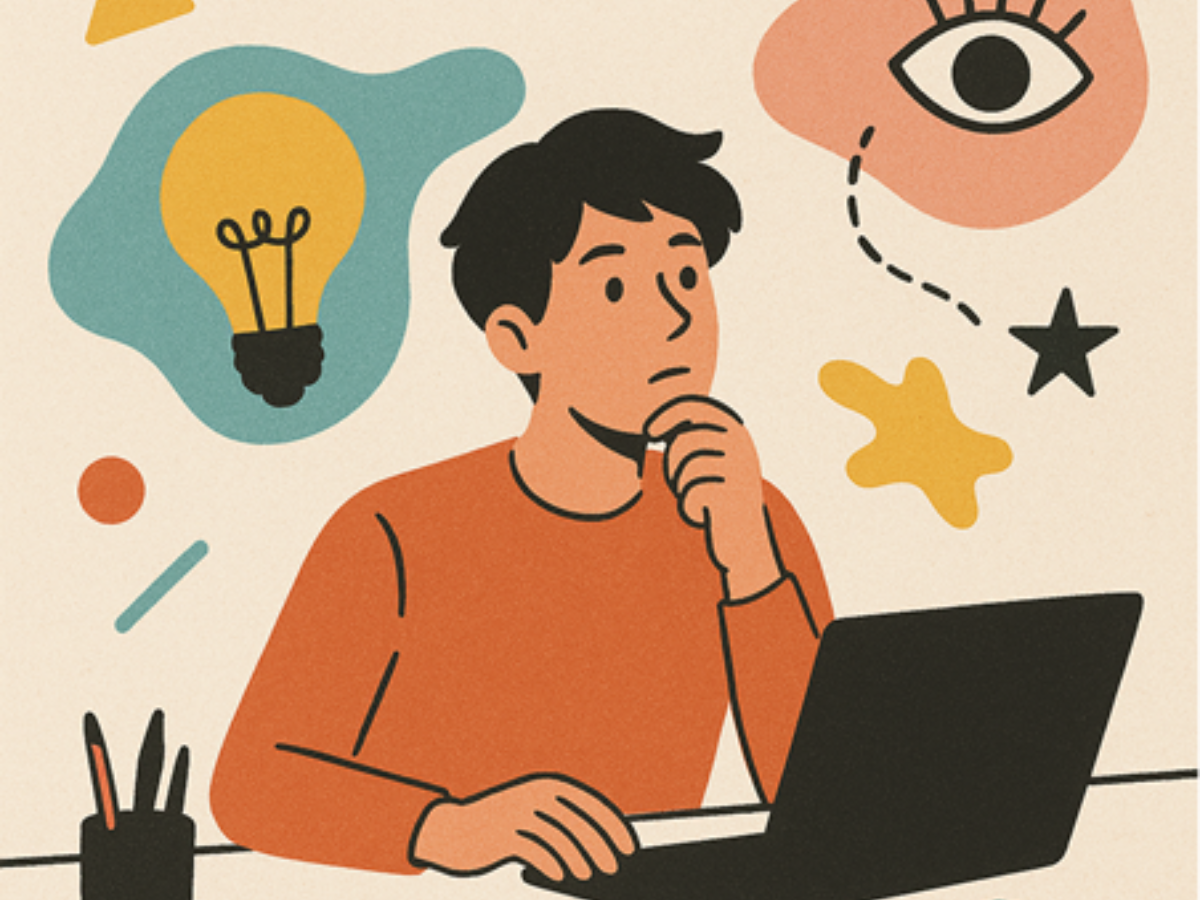
What Even Is a Moodboard?
At first glance, it might just look like a collage —
some photos here, a color palette there, maybe a cool font. But at its core, a moodboard is your visual compass. It’s where intuition meets intention.
Where fleeting ideas take shape.Where your vision becomes tangible, sharable, and directional.
When you sit down with a moodboard, you’re not just collecting references —
you’re telling a story without words.
You’re reaching into the atmosphere of your imagination and pulling out textures, colors, faces, fonts, moments — anything that feels like the world you’re about to create. It’s like catching butterflies — delicate, fleeting thoughts — and pinning them gently to a canvas so they don’t flutter away. A moodboard holds that moment in time where everything is raw, tender, and unshaped.
It’s your mind’s inner garden, where creativity blooms before it’s trimmed and pruned by deadlines and structure.
Sometimes, it’s chaotic.
Sometimes, it’s minimal.
But always — always — it’s honest.
Why It’s a Must-Have for Every Designer
1. It Clarifies the Chaos
Designers don’t begin with clean lines — they begin with storms of ideas.
Colors, memories, inspirations, doubts — all swirling in the mind like wild wind.
A moodboard is the calm in that storm.
It helps you pause, reflect, and ask:
“What am I really trying to say?”
Because when the vision becomes clear, the design flows like poetry.
2. It Speaks When Words Can’t
Not everyone speaks the language of design.
Clients, teammates, even your future self might not understand a concept until it’s seen.
A moodboard shows the soul of your idea — the feeling behind the font, the emotion in the color.
It bridges that invisible space between heart and screen, making the unseen seen.
And sometimes, a single image says more than a hundred slides ever could.
3. It Keeps You Anchored
Design is a journey — and it’s easy to get lost.
Trends tempt you, new ideas whisper, feedback floods in.
But your moodboard?
It’s your true north.
It holds the essence of what you first believed in.
When doubt creeps in, or you drift too far — you return to your board, and you remember:
This is the world I set out to create.
4. It Saves You Time (and Headaches)
Let’s be real — miscommunication is a creativity killer.
But when your vision is crystal-clear from the start, you avoid detours and disappointments.
A strong moodboard aligns everyone before the work even begins.
That means fewer frustrating revisions, fewer “Can we try something else?” emails…
and way more flow, trust, and ease in your process.
How to Make a Moodboard: Turning Vibes into Visuals
Step 1: Define Your Purpose
Before you collect anything, you need to be super clear on what this moodboard is for.
Ask yourself:
- What am I designing? (e.g. website, brand identity, poster, fashion line, room layout)
- Who is it for? (client persona, personal, college assignment)
- What should it feel like? (modern, cozy, bold, vintage, dreamy?)
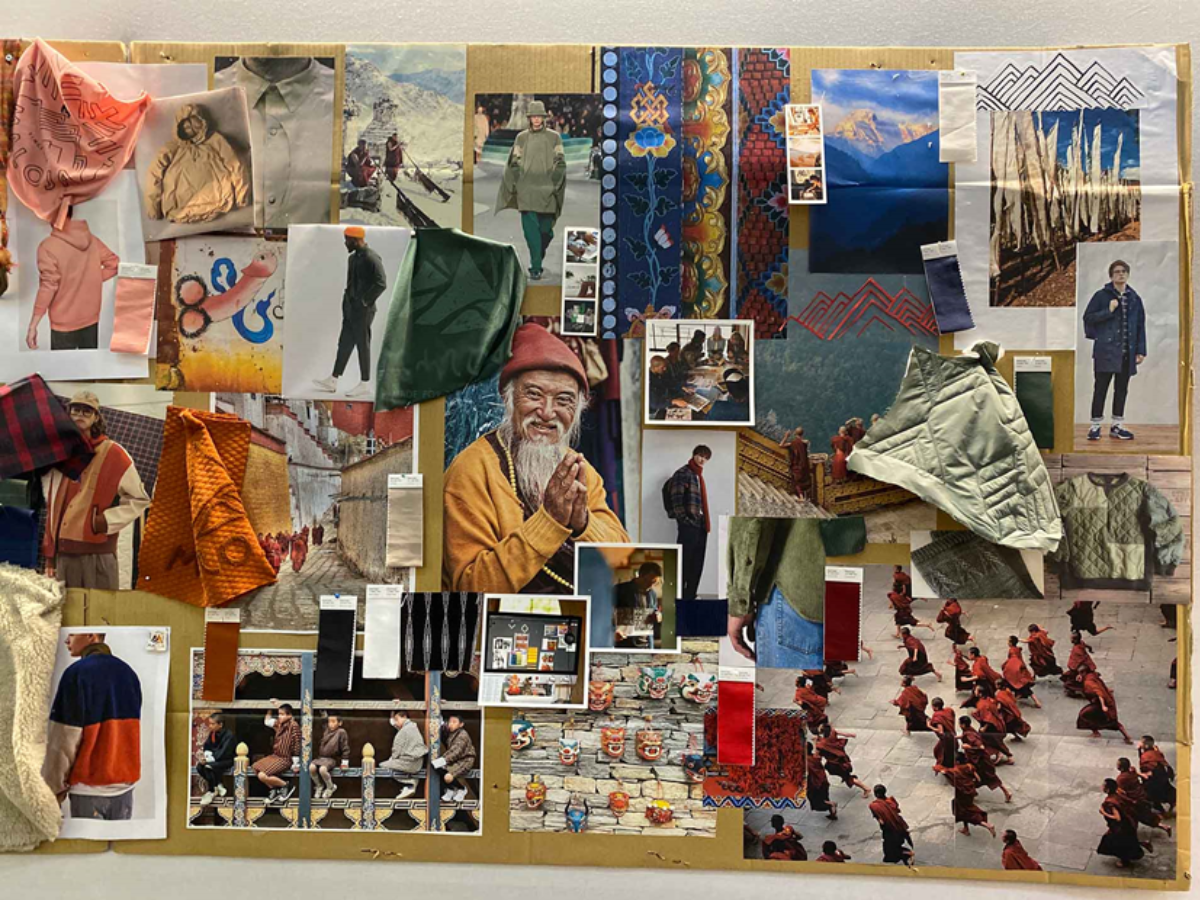
Step 2: Collect Visual References
Now it’s time to go on a little inspiration hunt.
You’re looking for anything that reflects your keywords and project goal.
Things to include:
- Photos: lifestyle, interiors, fashion, landscapes
- Color palettes: soft tones, bold contrasts, etc.
- Typography styles
- Textures and materials: marble, linen, metal, paper
- Design samples: logos, layouts, posters, websites
- Inspiration from media: anime frames, film stills, book covers, album art
Where to look:
- Pinterest (of course)
- Instagram saves
- Behance & Dribbble (for design-specific ideas)
- Screenshots from shows, movies, or fashion blogs
- Real life — take your own photos if needed!
Step 3: Choose a Format
You can make a digital moodboard or a physical one — whatever works best for your project For Digital Moodboards:
- Canva – user-friendly with tons of free templates
- Milanote – made for moodboarding; super flexible
- Figma – great for layout control and team sharing
- Google Slides / PowerPoint – underrated and easy to present
For Physical Moodboards:
- Print photos, magazine clippings, fabric samples
- Use a corkboard or sketchbook
- Arrange, paste, annotate — make it feel hands-on and personal
Step 4: Arrange with Purpose
This is where it gets real — it’s not just about throwing pretty stuff together. When you start arranging your visuals:
- Group by theme: Color on one side, typography on another, etc.
- Keep your keywords in mind — does every element support your vibe?
- Stick to 8–12 strong images. More than that = clutter.
- Use whitespace to keep it clean and readable
Step 5: Review and Refine
Once your board is laid out, take a short break. Come back with fresh eyes and ask:
- Does this reflect my keywords?
- Is it visually balanced and not too chaotic?
- Does it feel consistent in tone and style?
Trim anything that doesn’t belong. Add whatever’s missing.
Make sure it tells one clear story — your design story.
Step 6: Use It Like a Creative Roadmap
Your moodboard isn’t just a pretty collage — it’s your design compass.
Use it to:
- Guide your layout, fonts, and color choices
- Explain your concept in presentations
- Keep your project aligned, especially when you’re deep in revisions
- Save time when stuck or overwhelmed
Final Thoughts
A moodboard might seem small, but it’s where big ideas begin.
It gives you direction, clarity, and a vibe to hold onto when the design gets messy.
So take the time to build one — not just for the project, but for yourself.
You’ll thank yourself later.
Don’t skip it.
Don’t rush it.
Let it be your foundation — solid, soulful, and you.
“Before anything is designed, it must first be felt.”